

Display a list of predefined choices to that the user. You can always make edits to the final text (inside PhraseExpander) before sending it to the EMR (or the active application).
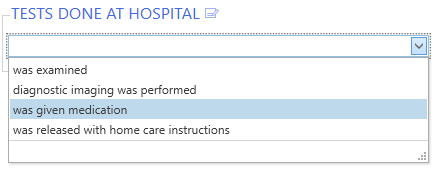
Image 1. The List fill-in drop-down.
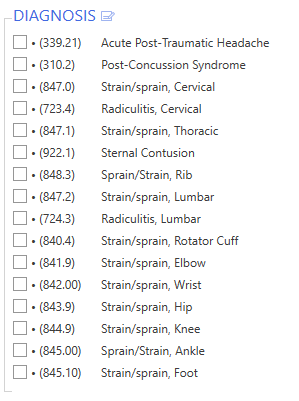
Image 2. Multi-selection list.
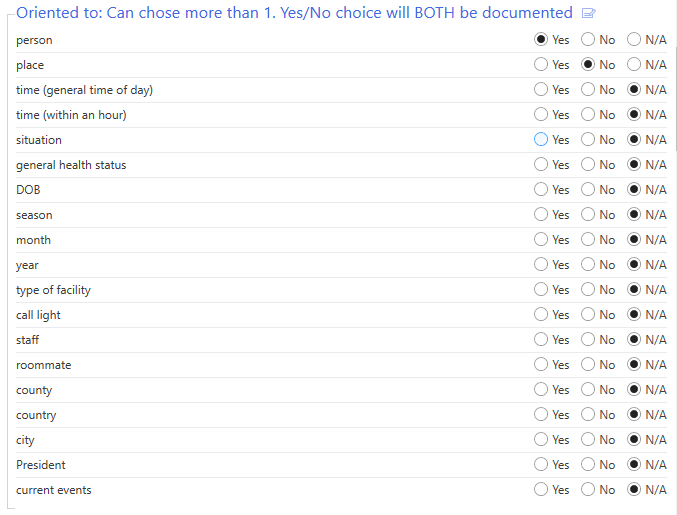
Image 3. With the "Use Yes/No/NA" option, you can associate three values with each item and generate a different text if the item is set to Yes or No.
To set the fill-in variable as List
In the variable design window, choose List in the Display as box.
Customizing the List fill-in
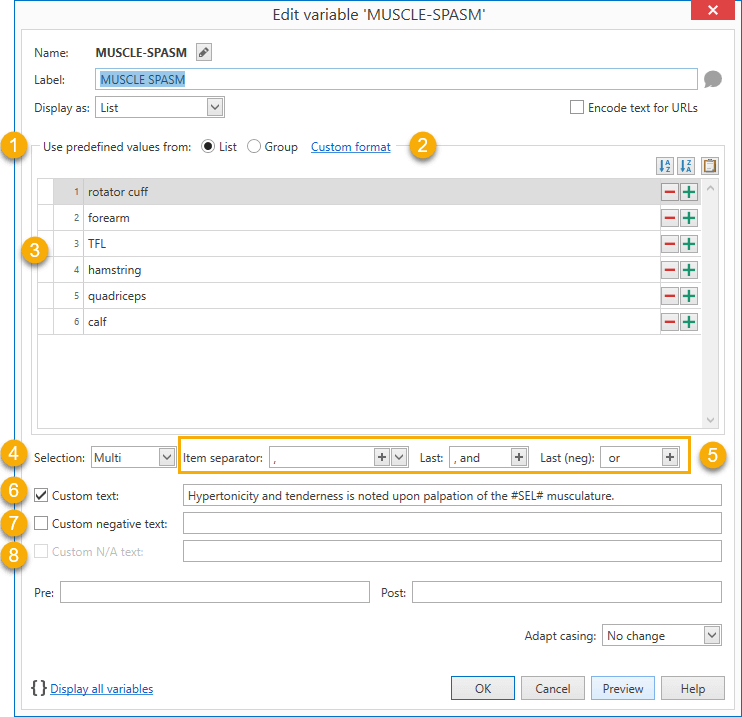
The List fill-in design window
You can customize the List fill-in through the following options:
1.Predefined values source: choose if the predefined values are entered from a static list or are gathered from the templates contained in a group or glossary.
2.Custom format: customize the text that is generated for each item, pre-pending or appending additional text to it. #ITEM# represents the current selection. The #N# (1) and #NM# (1M) placeholders can be used to create a numbered list based on the number of selected items. The #NM# placeholder doesn't insert the numbering if only one item is selected.
You can customize the text that is inserted in the numbering list by placing additional characters between #N and #
For example:
#N. ##ITEM# will generate
1. item1
2. item2
#N-##ITEM# will generate
1-item1
2-item2
#N- #"#ITEM#" will generate
1- "item1"
2- "item2"
You can use the #TAB# placeholder to insert TABs, for example at the beginning of the item, for better indentation.
You can also combine them together to have both numbering and indentation.
3.Predefined values: a list of predefined values the user can choose from. You can click on the Paste icon to paste a sequence of items (separated by a new line).
4.Selection: choose how the value is selected by using one of these options:
a.Single: the user can select a single item. You have the option to display the control as a dropdown (to save screen space) and allow custom values if you want the user to choose a value that is not included in the list
b.Multi: the user can select multiple items
c.Yes / No / Na: the user will be able to set three statuses for each item: Yes, No or Not applicable (N/A). Using this option and the Custom negative text, PhraseExpander can generate text to include items that are set to No as well (check Image 3 for an example)
5.Item separator: if Selection (4) is set to Multiselection or Yes/No/Na, PhraseExpander inserts a separator between each item. You can create lists that read like natural language by setting a different value for the last item, thus a list of three items will read like: one, two and three (instead of one, two, three). Similarly you can enter the last item separator for the negative sentence.
6.Custom text: the custom text is used to customize the text that is inserted when positive (checked) items are present. You can use the #SEL# placeholder to specify where the selected items will be inserted. You can also use the #LABEL# placeholder to insert the contents of the Label field of the variable.
7.Custom negative text: this is the custom text that is inserted when unchecked (or negative) items are present. Use the #NEG# placeholder to specify where the negative items will be inserted. The sentence will be inserted if at least one unchecked element is present. Il the #NEG# placeholder is not present, the negative text is shown only when all items are unchecked. You can also use the #LABEL# placeholder to insert the contents of the Label field of the variable.
8.Custom N/A text: when the selection is set to Yes/No/NA, this text is displayed when all the items are set to N/A.
Preselecting a predefined value
When displaying the list, all the elements are set to the unchecked status (or to NA if Yes/No/NA is enabled). If you want to preselect certain items, just prepend a * to the element you want to display as checked.
In the example above, if you want to preselect forearm, you can just write *forearm.
If the Selection is set to Yes/No/NA, you can also preselect an item to No, by pre-pending the # to it. For example #calf
Assign a shorter description to a predefined value
If you want to display a text that is different from the one that will be entered by PhraseExpander (for example, because it's too long or you want to associate a code to something that is easier to remember), you can do that by entering the text in the following format.
[description]text to insert
description: the description that will be shown when displaying the fill-in
text to insert: the actual text that will be inserted when the template is executed
Populate from Group
PhraseExpander can dynamically load the predefined values from the contents of a glossary (or group).
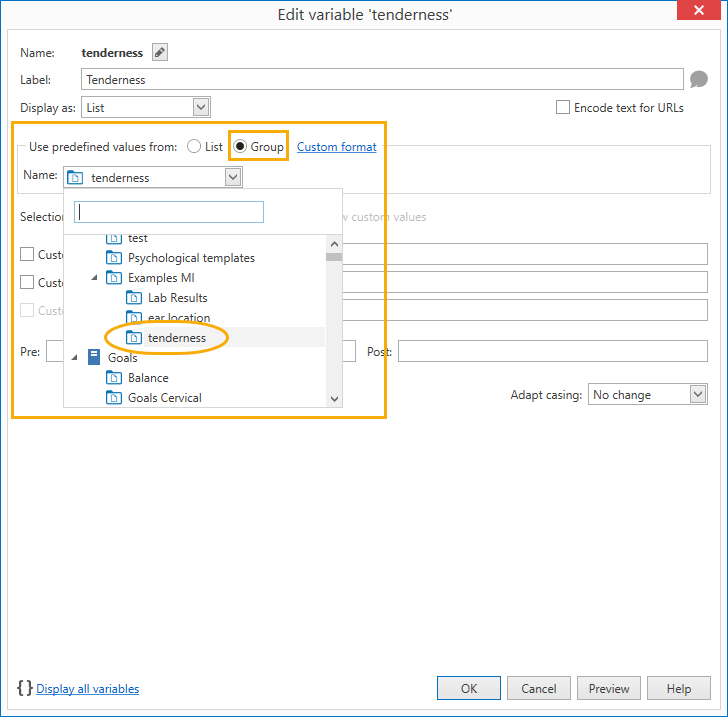
PhraseExpander can load the predefined values to display from the template contained in a group
To populate the predefined values from a Group
1.In the variable design window, click on Group
2.Select the group that contains the templates that you want to use. When executing the template, PhraseExpander will display the description of the template but will insert the content of the template
3.The templates are ordered by Description (you can click on Sort by descending order) to order them by Description in descending order
4.Click on the Preview button to check the results
NOTE: PhraseExpander will display the templates contained in the selected glossary or group and in all the contained groups.
